
Before you can connect to the school VPN you will need to contact us so that we can get the client installed. Once you have the software installed you can follow the below guide to connect to the school network.
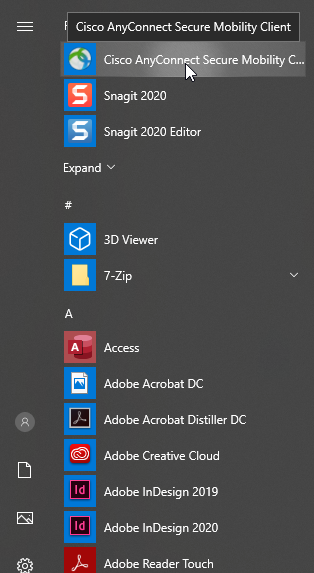
In order to connect to the network, you will need to use the Start menu to launch the Cisco AnyConnect software.
On a Mac, simply locate it in your applications and launch the software from there.
Launch the client and click connect. (The same process must be performed on Mac and Windows). The icon in the system tray will look as arrowed.
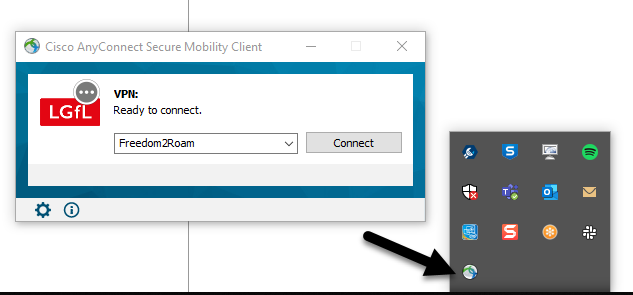
For schools inside London please access:
For schools outside London please access:
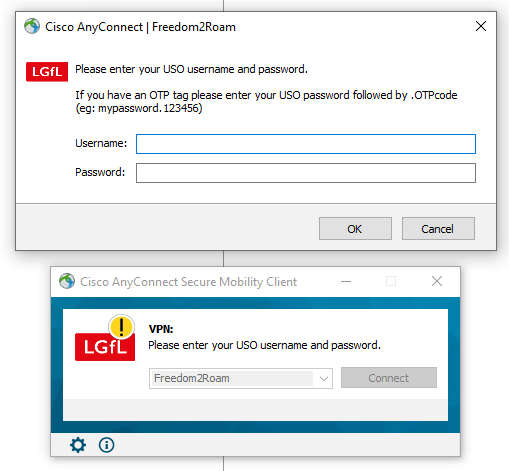
You will be prompted to enter your login details.
Please enter you USO username (jblogs.123) and your USO Password
You are now connected to the school network and should be able to access your resources as if you was in the school